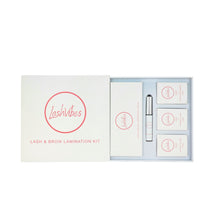
Keratin Lash Lift and Brow Lamination kit
Lash Vibes
Regular price
$189.00
$199.00
Sale
 What's this?
Innovation version of Keratin lash and brows lifting system with upgraded to
- Singles packages so it wont go off easily
- New silicone shields design help you create flawless lifted lashes
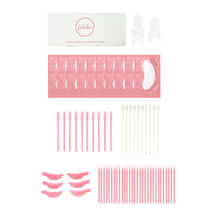
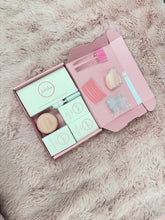
Package include :
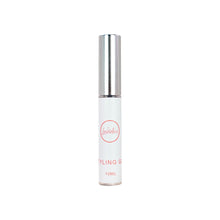
Styling Gel and styling balm
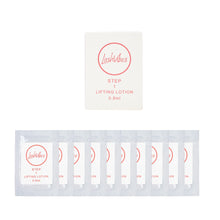
Lifting Lotion : 10 satchels ( enough for over 20 treatment approx so only $9 per treatment)
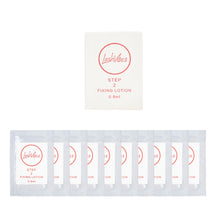
Fixing lotion 10 satchels
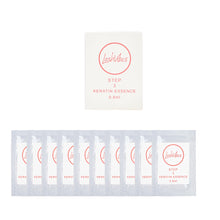
Keratin essence : 10 satchels
Small shields/ medium shields/ Large shields
10 eyepads
10 mascara wand
Sillicon cover
5 lash lift tools short
Expires date : late 2027
Brow lamination instruction
1. Thoroughly clean the eyebrow area with Lashvibes lash and brows cleanser and cotton pads
2. Apply styling gel on all over the eyebrow area, using a dental mini brush/mascara wand to brush the eyebrows all in a same direction and position them in place
3. Apply #1 Lifting lotion to eyebrows, avoiding to contact with the skin,Leave on 3-6 minutes depend on the natural eyebrow hairs, thiner the hair, shorter the time
4. Remove #1 Lifting lotion after a required time.
5. Apply #2 Fixing lotion to eyebrows, avoiding the tip area ,Leave on 3-6 minutes ( same amount of time you left for the #1)
6. Remove #2 Fixing lotion after a require time.
7. Apply Keratin essence on the eyebrows and leave for 2-3 minutes
8. Wipe the eyebrows and brush them gently using mascara wand
Keratin Lash lift instruction
1. Cover lower lashes with Lashvibes eye gel pad.
2. Brush upper lashes straight down.
3. Choose appropriate silicon shield size base on natural lashes’ length and desired curl, smaller the shield, stronger the curl.
4. Apply styling gel on all over the back of the shield , then attach the shield to the eyelid where the bottom of the shield stay as close to the lash line as possible, hold 8-10 seconds to dry
5. Apply styling gel on top of the shield and slowly brush the natural lashes stick up to the shield using lifting tool provided. Making sure the natural lashes stay nice and straight on the shield
6. Once the lashes are all in place, carefully apply the #1 Lifting lotion on the lashes using a micro brush, covering 2/3 the lashes length from the roots ( avoid cover the tip area of the lashes)
7. Leave on for 5-8 minutes, depending on the type of the eyelashes, thiner the lashes, shorter the time. Note your times and make adjustments during the next appointment as needed.
8. Remove all the #1 Lifting lotion using a dry cotton tip
9. Apply #2 Fixing lotion as close as possible to the lash line and spread it up using a micro brush, cover about 1/2 of the eyelashes from the root. Leave it on for 5 to 8 minutes depend on natural lashes’ health
10. Carefully remove all of the #2 Fixing lotion, leaving lashes glued in place on silicone shield
11. Detach the lashes from the silicon shield and nourish them using Keratin essence, use a cotton tip to remove all the residuals. Clean the eye area with protein remover wipe, Brush the lashes with a mascara wand and fan them gently
12. Advise client to use Keratin essence to nourish and maintain eyelashes health, client can repeat the appointment after 5-6 weeks


